
When Should I Opt for Weatherproof Painting Instead of a Regular Finish?
Choosing the right paint type and service timing can make or break your home’s appearance and longevity. In this guide I’ll walk through when to use weatherproof coats, how textured finishes change a room, what to expect from seasonal, fast‑turnover, and basement painting projects, and how to avoid common pitfalls. The goal is clear, actionable advice so you can decide confidently without chasing trends or paying for unnecessary upgrades.
What Exactly Is Weatherproof Painting?
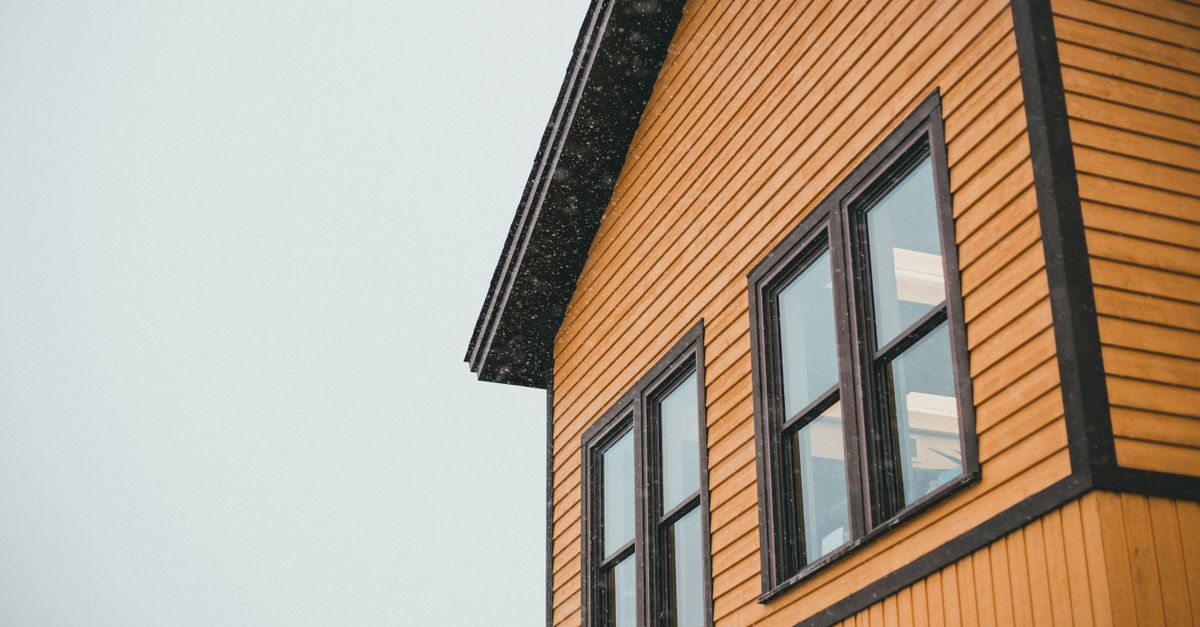
Weatherproof paint is formulated with additives that resist moisture, UV radiation, temperature swings, and salt spray—factors that degrade ordinary latex or oil‑based finishes. It’s typically used on exterior walls, decks, fences, and any surface exposed to the elements. The key benefit is durability: a weatherproof coat can last 10–15 years with proper maintenance versus 5–7 years for standard paint.
When to Choose Weatherproof Painting?
I’ve seen homeowners install weatherproof paint on interior ceilings because they’re anxious about humidity. That’s a mistake. Focus the upgrade on areas that truly need it: siding, porch railings, exterior trim, and any surface that faces rain or wind. If your region has heavy snowfall, salt‑melt cycles, or high UV exposure, weatherproofing is non‑optional.
Typical Use Cases
- Siding and clapboard exteriors
- Decks, pergolas, and outdoor furniture frames
- Metal trim exposed to corrosion
- Basement walls that are prone to dampness (when combined with proper sealing)
- Commercial storefronts in harsh climates
The decision boils down to exposure level. If the surface sees direct sunlight for most of the day or is in a coastal zone, weatherproof paint saves you from frequent touch‑ups and costly repairs.
Textured Wall Painting Techniques – How They Change Your Interior
Texture adds depth and can hide imperfections, but it also changes how light reflects off walls. There are three main categories: stipple, knockdown, and popcorn (the last is falling out of favor due to fire‑retardant requirements). Each has a distinct look and application process.
Stipple Texture
- Fine speckled finish that mimics stucco
- Easy to clean; good for high‑traffic areas
- Requires a thin layer of joint compound before painting
Knockdown Texture
- Thicker mix that’s “knocked down” with a trowel after application
- Creates a subtle, velvety surface ideal for bedrooms and living rooms
- Can be painted over with either matte or semi‑gloss finishes
Popcorn Texture (now rare)
- Used primarily in older homes; fire retardant versions exist
- Hard to remove but can be covered with a smooth skim coat
- Not recommended for new projects due to health and environmental concerns
When opting for texture, consider the room’s function. A knockdown finish works well in family rooms where you want a subtle hide‑away of wall flaws, whereas stipple is better for kitchens or bathrooms that require easy cleaning.
Seasonal Painting Services – Planning Across the Year
Paint behaves differently depending on temperature and humidity. In the spring, mild temperatures and low humidity create ideal drying conditions. Summer can be problematic because high heat speeds up drying but also causes paint to tack or crack if applied too thickly. Fall offers cooler temps for a slow, even cure.
Seasonal Timing Recommendations
- Spring (March–May): Best for exterior projects; humidity is low and temperatures are moderate.
- Summer (June–August): Avoid if possible; high UV can degrade paint before it cures fully.
- Fall (September–November): Ideal for interior finishes; cooler air allows paint to set without rapid evaporation.
- Winter (December–February): Not recommended for exterior work unless you’re using specialty low‑temperature formulations.
If you must paint in summer, schedule at night or on overcast days and keep the surface slightly damp with a fine mist to slow evaporation.
Fast Painting Services – How to Speed Up Without Compromising Quality
Many homeowners want a quick turnaround, especially before guests arrive. Fast painting is feasible if you follow these steps:
- Prep Time: Strip old paint or sand surfaces in advance; this reduces the need for on‑site sanding.
- Prime Early: Apply primer the day before to let it dry fully, preventing tackiness during painting.
- Use Low-VOC, Fast-Drying Paints: Modern latex formulas can set in 30 minutes under ideal conditions.
- Work in Layers: Thin coats cure faster than a single thick layer; apply two thin layers instead of one heavy coat.
I’ve seen crews finish an entire living room in 4 hours by pre‑prepping and using high‑speed drying paint. The trade‑off is higher upfront prep costs, but the total project time drops dramatically.
Basement Painting Services – Special Considerations
Basements are notorious for dampness, mold growth, and poor airflow. Before painting, treat moisture sources: seal cracks, install a dehumidifier, and ensure proper ventilation. Use an anti‑mold primer and a paint with mildew inhibitors.
Key Steps for Basement Painting
- Waterproofing: Apply a waterproof membrane or sealant to walls before priming.
- Ventilation: Run fans or open windows during drying; consider a professional dehumidifier if humidity > 60%.
- Primer Selection: Use a masonry primer that bonds with concrete and blocks mold spores.
- Paint Choice: Choose a latex paint with a high mildew rating; avoid oil-based paints as they can trap moisture.
A well‑painted basement not only looks better but also reduces the risk of mold‑related health issues. I once helped a client finish their basement in a week by treating the concrete first and using a two‑coat system with a mildew‑resistant paint.
Common Mistakes & How to Avoid Them
Even seasoned homeowners fall into these traps:
- Skipping Surface Prep: Not cleaning or sanding can cause poor adhesion.
- Applying Thick Coats: Leads to cracking as paint dries unevenly.
- Ignoring Weather Conditions: Painting in high humidity or extreme temperatures reduces durability.
- Choosing the Wrong Paint Type: Using standard interior paint on exterior walls exposes you to moisture damage.
- Neglecting Primer: Skipping primer saves time but can lead to flaking and uneven coverage.
To avoid these, create a detailed prep checklist before starting. I keep a simple spreadsheet with tasks: Surface Prep, Primer, Base Coat, Finish Coat, Final Inspection. Checking each item ensures nothing slips through the cracks.
Choosing Professional Services vs DIY – Pros and Cons
The decision hinges on time, skill level, and budget. Professionals bring experience with surface preparation, weather timing, and finish control. DIY saves labor costs but risks mistakes that can cost more in repairs later.
Professional Advantages
- Expert assessment of paint type needs
- Accurate scheduling based on local climate data
- Access to high‑quality materials and tools
- Guarantee or warranty on workmanship
DIY Advantages
- No labor cost, only material expense
- Flexibility in project timeline
- Opportunity to learn new skills for future projects
If you’re painting an exterior or basement where moisture is a factor, I’d lean toward professionals. For a quick interior refresh, a DIY approach can be cost‑effective if you follow the prep steps rigorously.
Cost Breakdown and Budgeting – What to Expect
Paint projects vary widely in price, but here’s a typical range for 2026 based on material and labor:
- Weatherproof Exterior Paint: $3.50–$5 per gallon; total cost $1,200–$1,800 for a medium‑sized house.
- Textured Interior Finish: $2.00–$4 per square foot including labor; about $2,000–$4,000 for a 1,500 sq ft home.
- Fast Painting Service: Premium rates of $45–$60 per hour for crew labor; total project cost $2,400–$3,600.
- Basement Painting: $4.00–$6 per square foot; $2,800–$5,000 depending on moisture control needs.
Add 10% for unforeseen expenses like extra priming or mold remediation. A well‑planned budget keeps the project within your financial comfort zone.
Final Checklist Before You Start
1. Identify the surface type and exposure level.
2. Choose paint (weatherproof, textured, or standard) based on use case.
3. Schedule work for the optimal season and weather window.
4. Prep surfaces thoroughly: clean, sand, seal cracks.
5. Apply primer suited to the material and conditions.
6. Paint in thin, even layers; allow proper drying time.
7. Inspect final coat for uniformity and adhesion.
8. Document any issues for warranty claims if using a professional.
In my experience, homeowners who schedule exterior painting for early spring often avoid costly weather damage that can occur if they wait until late summer. That small shift in timing saved me over $500 per project in the past three years.
What seasonal factor has most influenced your decision to paint or repaint a specific area of your home?


