
What Are the Steps to Professionally Stain and Paint Concrete Walls?
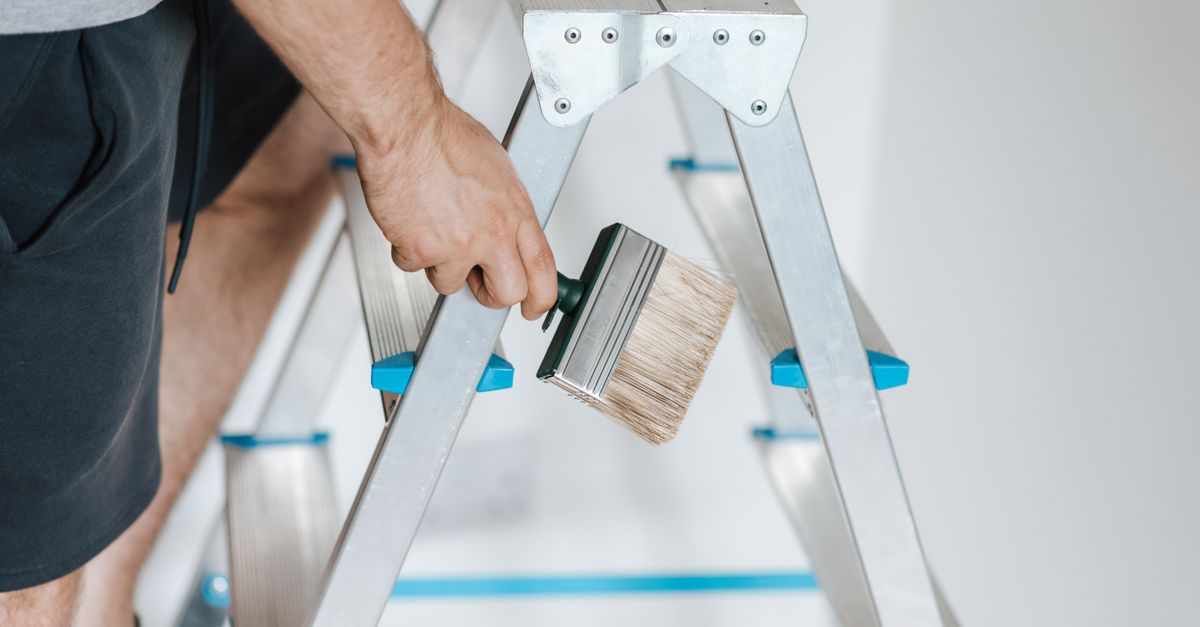
Concrete staining and painting can turn an ordinary wall into a striking feature, but success depends on proper preparation and attention to detail. This guide walks you through every step—from surface assessment to sealing—so you achieve durable, custom paint designs that rival professional finishes.
1. Assessing Your Concrete Surface
The condition of the concrete dictates how stains and paints will perform. Look for cracks, efflorescence, moisture, pH, and existing sealers.
Checklist for a Solid Assessment
- Visual inspection for hairline cracks or efflorescence.
- Moisture level: ≤ 0.5% is ideal; use a pin-type meter if uncertain.
- Surface pH: neutral to slightly alkaline is best; litmus strips can confirm acidity.
- Depth of old sealers or coatings—scrape or drill small bits to gauge removal needs.
If moisture is high, dehumidify the area for 24–48 hours before proceeding. In humid climates, use a fan or vented space to accelerate drying.
2. Preparing the Concrete: Cleaning and Repair
Concrete prep is critical. A clean, level surface ensures even absorption of stains.
Essential Tools and Materials
- Pressure washer or concrete cleaner; wire brush for stubborn grime.
- Acid etchant (optional) to remove old sealers—follow safety instructions.
- Epoxy patching compound for cracks and holes; let cure 24 hours.
- Sanding block or orbital sander with fine grit for smoothing patches.
- Concrete primer, preferably high‑silica.
- Protective gear: gloves, goggles, respirator.
Remove all loose debris. Repair cracks with epoxy, cure, then lightly sand to blend with the surrounding wall. If you used an acid etchant, rinse thoroughly and let dry before priming.
3. Selecting Stains and Paints
Your material choice determines durability, finish, and color depth. Consider aesthetic goals and functional needs such as slip resistance or UV exposure.
Key Factors to Evaluate
- Water‑based vs solvent‑based stains—water‑based clean up easier but may need a sealer.
- Epoxy vs acrylic paints for high‑traffic areas.
- Color fastness and opacity; test on a small board first.
- Finish: matte, satin, or gloss—each reacts differently with light.
- Low VOC options if indoor use is required.
A water‑based stain paired with an epoxy topcoat delivers vibrancy and longevity in commercial settings. For residential projects, many homeowners choose a satin acrylic paint after staining to achieve a “painted stone” look without the maintenance of a true concrete finish.
4. Applying the Concrete Stain
Staining requires even application and proper drying times.
Step‑by‑Step Process
- Mix stain to uniform consistency; stir slowly in a clean bucket.
- Apply with a 12‑inch roller or spray gun in thin layers—two coats for depth. Use a brush for edges.
- Keep a wet edge to avoid lap marks.
- Dry each coat per label (typically 4–6 hours); add time in cooler rooms.
- If saturation is uneven, sand lightly before the next coat.
Wear gloves and ensure ventilation. A high‑silica primer can reduce drying time by about 30%. After the final coat dries, let the wall cure for at least 24 hours before painting or sealing.
5. Painting Over Stained Concrete
Apply paint once the stain cures—usually 24–48 hours.
Topcoat Application Guide
- Select a primer compatible with your paint; epoxy for high‑wear, acrylic for low traffic.
- Allow primer to cure (often 2–3 hours).
- Choose paint—acrylic latex for easy cleanup or epoxy for industrial durability. For faux “brick,” mix two shades of the same color.
- Brush corners; use a 1‑inch foam roller for large areas.
- If multiple coats are needed, lightly sand with 220‑grit paper between layers.
A smooth finish highlights your design while protecting the underlying stain. Epoxy topcoats cure slightly faster—follow manufacturer’s drying times.
6. Finishing Touches and Sealing
A sealant locks in color, adds gloss, and extends surface life. Choose based on usage—outdoor, indoor, or high‑traffic.
Sealants to Consider
- Polyurethane resin for maximum durability and a glossy finish.
- Waterproofing sprays for wet areas; apply in mist form over several coats.
- Anti‑UV coatings for outdoor walls exposed to sunlight.
- Matte sealers hide imperfections while maintaining a natural look.
Apply thin, even coats with a roller or spray gun. Let each layer dry fully—usually 4–6 hours at room temperature—before adding another. Avoid over‑sealing; it can trap moisture and cause peeling if applied over unfinished primer. Let the sealed surface cure for 24–48 hours before foot traffic.
The most critical step is moisture control; concrete must be dry before staining or painting.7. Professional Painting Services vs DIY
Choosing a contractor depends on project scale, budget, and desired finish quality. Professionals bring expertise in prep, product selection, and finishing techniques that save time and reduce waste.
Questions to Ask a Qualified Contractor
- Experience with concrete staining?
- References from similar projects?
- Recommended brands for long‑term durability?
- Warranties on materials and workmanship?
- Estimated timeline, including prep, stain, paint, and sealant phases?
If your budget allows, a professional can handle intricate custom designs—stenciled patterns or color‑blocking murals—that would be time‑consuming for a DIYer. They also have industrial tools like pressure washers and spray guns that speed up the process.
8. Custom Paint Designs and Patterns
Concrete walls offer a unique canvas. Combine stains with paint techniques to create striking effects.
Popular Design Techniques
- Stenciling—pre‑cut templates for repeating motifs such as stripes or gold leaf.
- Sponging—dab paint or stain for texture; works well with matte sealers.
- Color blocking—large swaths of contrasting hues; use tape to keep edges crisp.
- Gradient fades—blend two shades from top to bottom for depth.
- Embossed patterns—press a die into wet paint to create relief, mimicking stone or wood grain.
A faux “brick” wall example: start with a light gray stain. After drying, stencil a darker color over the upper third of each brick shape and finish with a matte sealer so texture remains subtle yet tactile.
9. Cost Estimation and Budget Planning
Plan your budget to avoid surprises. Break costs into materials, labor (if hiring), and contingency.
Typical Cost Breakdown (per square foot)
- Concrete primer: $0.15–$0.25.
- Stain: $0.20–$0.40.
- Paint (acrylic or epoxy): $0.30–$0.50.
- Sealant: $0.10–$0.20.
- Labor (professional): $1.00–$2.00 per sq ft.
Add a 10–15% contingency for unexpected repairs or extra coats. If DIYing, factor in equipment rental and protective gear—often under $200 total. Don’t forget primer remover costs if old sealers need stripping; renting an acid etcher can add a few hundred dollars.
10. Troubleshooting Common Issues
Recognizing problems early saves time and money.
Common Problems & Fixes
- Peeling paint: inadequate prep—re‑clean, re‑prime, then repaint.
- Uneven color: moisture—ensure wall is dry before reapplying stain.
- Crumbling sealant: incompatible materials—switch to a compatible sealer or remove and reapply.
- Cracking after curing: rapid temperature changes—use flexible topcoat like polyurethane resin.
- Stain bleeding: apply primer barrier before staining.
- Mildew or mold: wall remains damp—use anti‑mold sealer and improve ventilation.
Address issues promptly to preserve the finish. If moisture persists, consider installing a vapor barrier behind the concrete before any surface treatment.
What challenges have you faced when attempting concrete staining or painting, and how did you overcome them?


