
Painting for historic homes in Lincoln, NE
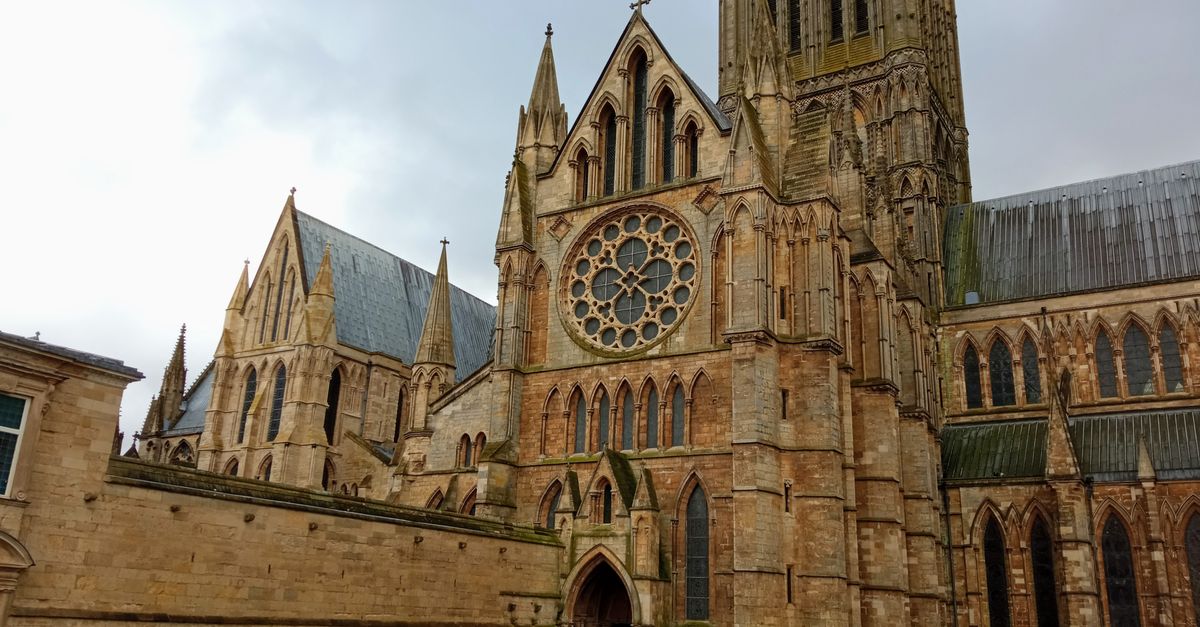
The challenge of restoring a historic home’s exterior or interior paint isn’t just about choosing a color that looks good. It’s about respecting the building’s heritage while meeting local regulations, protecting aging materials, and doing it all within a realistic budget. In Lincoln, NE, where many homes date back to the early 1900s, these factors become especially critical.
Why historic home painting matters
A historic property is more than a structure; it’s a piece of local history that contributes to Lincoln’s character and real‑estate value. Proper paint maintenance preserves original woodwork, masonry, and architectural details from weathering, mold, and UV damage. When done correctly, it also prevents costly repairs down the line and keeps the home compliant with preservation ordinances.
In my experience, owners often underestimate how much a well‑executed paint job can extend a building’s lifespan while enhancing curb appeal. That investment pays off when you’re ready to sell or simply want peace of mind knowing your heritage home is protected. Historic homes also attract a niche market that values authenticity; a fresh, historically accurate finish can be the difference between a quick sale and months on the market.
Factors affecting pricing for Painting Services in Lincoln, NE
Pricing varies widely across the city because of several interrelated factors. Understanding these will help you compare quotes accurately and avoid surprises.
The main cost drivers for historic paint jobs
- Surface condition: Older homes often have peeling, flaking, or damaged surfaces that require extensive prep work before painting can begin. This may involve scraping, heat gun removal, or chemical stripping to remove hazardous lead‑based layers.
- Paint selection: Historic preservation standards may call for specific types of paint—such as low‑VOC, breathable options—that are pricier than conventional emulsions. The choice also influences durability; a breathable latex can allow moisture to escape while still providing color stability.
- Labor expertise: Specialists familiar with period finishes and delicate trim command higher rates because they can work precisely without compromising architectural details. Their skill set includes hand‑brushing ornamental moldings, using traditional rag‑ging techniques, and applying multiple thin coats for a satin finish that mimics original paint.
- Regulatory compliance: Lincoln’s historic district guidelines may mandate certain color palettes or application methods, which can add to the cost through additional approvals or specialized materials. In some cases, a permit is required before any exterior work begins, adding a layer of bureaucracy and potential delays.
- Project scope: The number of rooms, exterior walls, windowsills, and decorative elements all influence total labor hours and material quantities. A single large porch with intricate trim can be more time‑consuming than the entire house’s siding.
In my experience, a single neglected stucco wall can inflate a quote by 15% because it requires stripping, patching, and multiple coats before the final paint is applied. Adding a historic fireplace or original leaded glass windows also increases labor complexity and material specificity.
Key takeaway: The most significant price differences stem from surface preparation and compliance with historic preservation standards, not just paint color choice.Color selection and historical accuracy
Choosing a palette that honors the home’s era can be as important as selecting the right material. Many Lincoln districts maintain an approved list of colors derived from archival photos or paint samples taken decades ago. Begin by gathering any existing paint chips, photographs, or restoration reports; these serve as reference points for matching hues. When you discuss options with your contractor, ask if they have experience sourcing period‑accurate pigments and whether they can provide color swatches that align with the district’s guidelines.
Even within a prescribed palette, subtle variations in undertone—such as a warm vs. cool gray—can dramatically alter a room’s character. A small adjustment to the base coat may be necessary to accommodate changes in lighting or surrounding landscaping. By involving a contractor who understands color theory and historical context, you can achieve a finish that feels both authentic and fresh.
Choosing the right contractor in Lincoln, NE
Your contractor’s expertise with historic properties directly impacts both quality and cost. Here are the criteria I focus on:
- Certification: Look for contractors who hold certifications from the National Association of Home Builders (NAHB) or local preservation societies.
- Portfolio: Ask to see before‑and‑after photos of similar historic homes in Lincoln. This demonstrates their ability to handle aged materials.
- References: Contact past clients, especially those who have worked on properties with strict preservation rules.
- Insurance and bonding: Ensure they carry comprehensive liability coverage tailored for historic structures.
- Transparent quoting: A detailed estimate that breaks down prep work, material costs, labor hours, and contingency allowances shows professionalism.
I’ve worked with several local firms; those who invest time in a thorough walk‑through before giving a quote tend to deliver smoother projects. When meeting a contractor, ask the following questions: How many historic homes have you painted? What specific challenges did you encounter on your last project? Do you use lead‑safe practices if older paint is present?
Additionally, request samples of their work on period trim—hand‑brushed moldings or ragged edges that replicate original craftsmanship. A contractor who can demonstrate these techniques in person often has the skill set required to preserve delicate details without compromising structural integrity.
Preparing your historic home for paint
Preparation is where the bulk of the cost often lies. Skipping steps can lead to peeling or mildew, which would require re‑painting sooner than anticipated.
A step‑by‑step prep checklist
- Assessment: Inspect all surfaces for rot, mold, and previous paint failures. Document findings with photos so the contractor knows what to expect.
- Cleaning: Use low‑pressure washing or steam cleaning to remove dirt without damaging old plaster or wood. For exterior stonework, a gentle brush and mild detergent can dislodge grime while preserving texture.
- Repair: Fill cracks with appropriate fillers (e.g., lime‑based mortars for masonry) that match the historic material. For wooden trim, use seasoned cedar filler to prevent future decay.
- Sand and skim coat: Smooth out uneven areas, especially on trim, with fine‑grit sandpaper followed by a skim coat of compatible primer. This step ensures a uniform surface for paint adhesion.
- Masking: Protect windows, doors, and ornamental details using high‑quality painter’s tape and drop cloths. For intricate woodwork, consider wrapping sections in plastic sheeting and sealing edges with painter’s tape to avoid accidental coverage.
In my experience, dedicating 30% of the total budget to prep work pays dividends; it reduces labor hours during painting and extends paint life. A well‑prepared surface also allows for fewer coats, saving both time and material costs in the long run.
Common mistakes and how to avoid them
Even seasoned owners can fall into pitfalls that inflate costs or compromise a historic home’s integrity.
- Using incompatible paint: Modern acrylic paints may seal porous surfaces, trapping moisture and causing blistering. Opt for breathable, low‑VOC formulations approved by preservation bodies. For example, a latex with a 2–3% mineral filler works well on old clapboard without compromising airflow.
- Skipping primer on old surfaces: Primer locks in stains and provides a uniform base. Neglecting it can lead to uneven color coverage and additional coats. A two‑coat primer system is often necessary when dealing with historic leaded paint layers that have been sanded down.
- Ignoring local regulations: Lincoln’s historic district may restrict certain colors or finishes. Verify guidelines before finalizing your palette; otherwise, you risk fines or forced repainting after a review board meeting.
- Over‑painting: Adding too many layers can trap moisture. Follow manufacturer instructions for optimal number of coats and allow sufficient curing time between each application to avoid mold growth.
In my experience, the biggest cost overruns come from re‑doing paint due to improper primer application or failing to meet color standards set by the local preservation commission.
Maintaining your historic home’s paint over time
A diligent maintenance routine can keep a historic property looking fresh for decades.
- Annual inspections: Look for peeling or discoloration and address issues promptly. Use a moisture meter to check hidden dampness behind trim or wallboard.
- Touch‑ups: Use the same compatible primer and paint to match existing finishes. Small touch‑up kits are handy for quick fixes after heavy rain.
- Cleanings: Gently wash surfaces with mild detergents every 3–5 years to remove grime, preventing mold growth on porous walls.
- Protective coatings: Apply breathable sealers during dry seasons to guard against moisture infiltration. A light coat of clear acrylic can also add a subtle sheen without altering historical appearance.
In my experience, homeowners who schedule annual inspections avoid costly repairs that would otherwise require full‑scale repainting. An early detection of a leaking roof or a damp porch can save thousands in future restoration work.
Quick checklist before hiring a painting contractor
- Verify historic preservation credentials and local licensing.
- Request detailed, itemized quotes with prep, paint, labor, and contingency lines.
- Check references specific to historic projects in Lincoln.
- Confirm understanding of Lincoln’s color guidelines for historic districts.
- Ensure insurance covers accidental damage to antique fixtures or finishes.
Meeting these criteria reduces risk and ensures the project stays on budget.
What specific challenges have you faced when painting a historic home in your area?


